
How to Connect JoyCon Controllers to Anki for Medical School (MacOS)

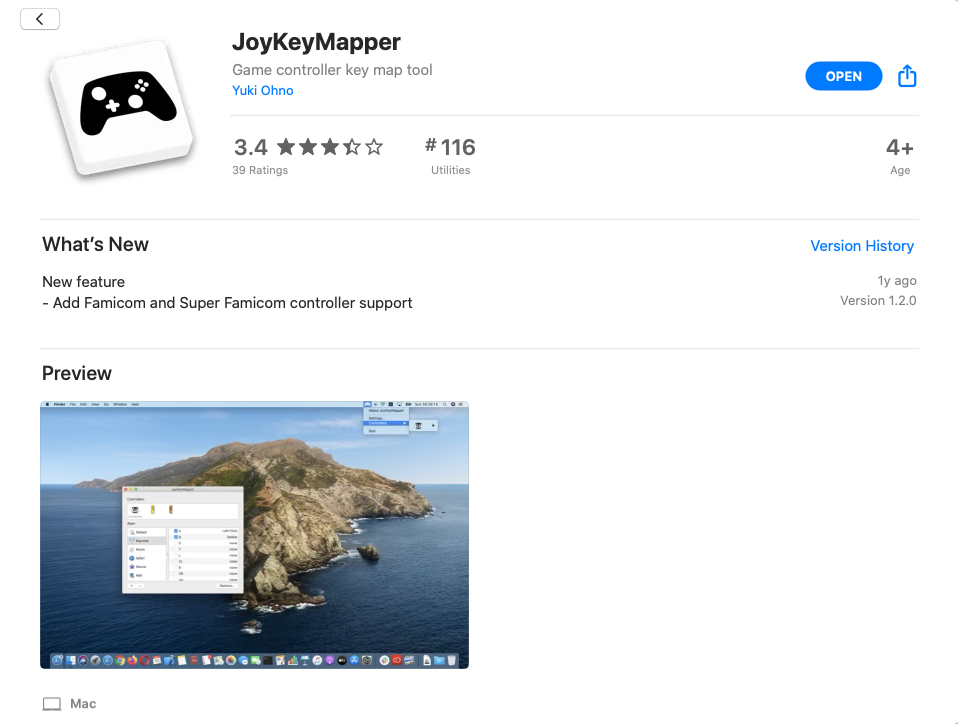
- Go to the App Store and download the free app JoyKeyMapper and open the application (Figure 1).
- Go to System preferences > Bluetooth
- To make your JoyCon discoverable, press and hold the sync button on your JoyCon until the 4 lights begin flashing.
- Once discoverable, click ‘Connect’
- I personally like to rename the JoyCon based on the color because I have two different pairs that I alternate between. To rename, right click on “Joy-Con ([L/R])” and select ‘Rename’
- From JoyKeyMapper settings select the connected JoyCon
- Click the + icon in the bottom left and add Anki to the Apps list
- Select Anki
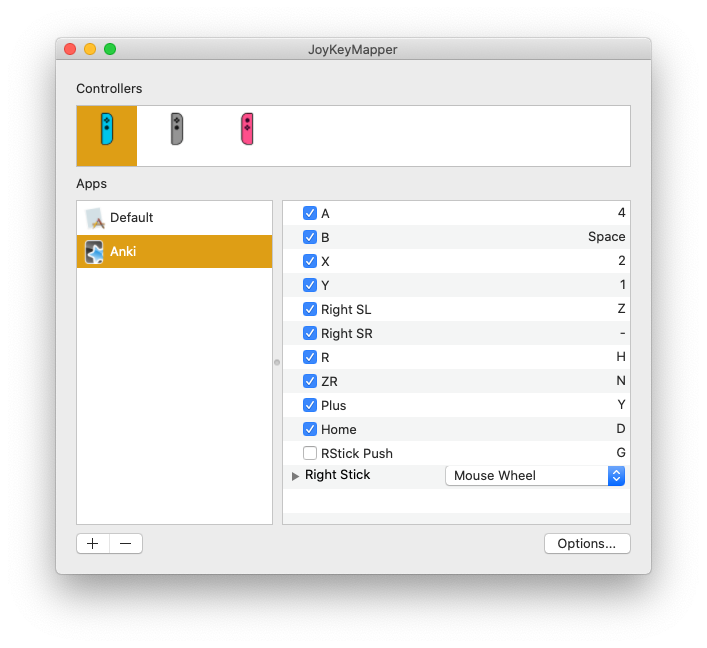
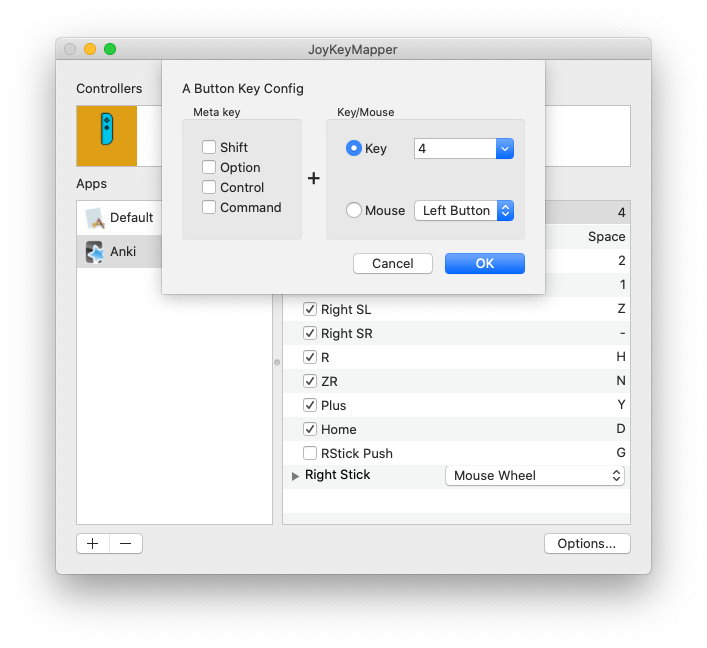
- Left click on each JoyCon button within JoyKeyMapper and assign a command to each. I’ve included a screenshot of my settings below (Figure 2) as well as a table to show what each command does (Table 1).
- Start using Anki!
- Use the addon Customize Keyboard Shortcuts to change any shortcut, if needed.
- If you want, you can also connect the second JoyCon and assign even more commands.
- When it’s time to charge you can reconnect them to the Switch and leave it docked.
- If you reattach your controller to the Switch, then you’ll have to manually reconnect it to your computer through bluetooth preferences. Your settings in JoyKeyMapper will be saved.


Comments ()